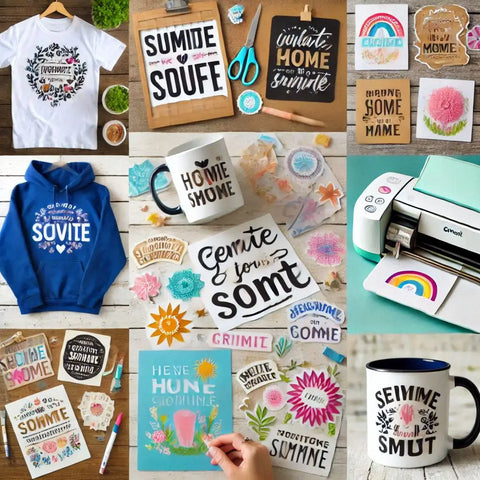
When I first got my Cricut machine, I was thrilled but a little overwhelmed. I had heard about the magic of SVG files and how they could transform ordinary materials into stunning crafts. If you're new to Cricut, you’re probably feeling the same way. Don’t worry—by the end of this guide, you'll feel confident about using SVG files for your projects.
What Are SVG Files?
SVG stands for Scalable Vector Graphics. Think of them as the ultimate crafting file—they’re clean, scalable, and easy to customize. Unlike regular images, SVG files don’t lose quality when resized, making them perfect for Cricut projects. Whether you’re cutting vinyl, paper, or fabric, SVG files are your best friend.
Preparing Your SVG Files
Finding SVG Files
The first step is to find high-quality SVG files. Websites like Silhouette File offer a wide range of designs for every occasion. From holiday templates to intricate patterns, you’ll find plenty of inspiration.
Downloading and Organizing
Once you’ve chosen your SVG files, download them to your computer. Create folders to keep them organized by theme or project type. For example, have a folder for "Holidays," "Kids' Crafts," or "Wedding Decor."

Setting Up Cricut Design Space
Installing the Software
Cricut Design Space is the brain of your Cricut machine. If you haven’t already, download and install it on your computer or mobile device. It’s free and easy to set up.
Uploading SVG Files
-
Open Cricut Design Space.
-
Click on "Upload" in the left-hand menu.
-
Drag and drop your SVG file or browse to upload it.
-
Save the file, and it will appear in your library for use.
If you’re facing issues during the upload, make sure your file is in SVG format and hasn’t been compressed into a ZIP folder.
Editing SVG Files in Cricut Design Space
Resizing and Scaling
Click on your uploaded SVG design and use the corner handles to resize it. Cricut ensures you won’t lose any quality while scaling up or down.
Customizing Colors and Layers
SVG files often come with multiple layers. Use the “Layers” panel to hide, edit, or delete specific layers. Change colors to match your project theme by selecting the layer and clicking on the color swatch.
Adding Text
Want to personalize your design? Use the Text tool to add names, quotes, or dates. Choose from Cricut’s fonts or upload your own.
Preparing to Cut
Choosing Materials
Decide what material you’ll use. Popular choices include vinyl for stickers, cardstock for cards, and iron-on for fabric projects. Make sure you have the correct type of Cricut mat (LightGrip, StandardGrip, or StrongGrip).
Adjusting Cut Settings
Cricut Design Space will guide you through the settings. Select your material, and the software will automatically adjust the blade depth and pressure.
Testing the Cut
Always run a test cut! This ensures the settings are perfect and prevents wasted material.
Cutting and Assembling
Loading the Mat
Place your material on the Cricut mat, aligning it properly. Load the mat into your machine by pressing the arrow button.
Starting the Cut
Hit the "Go" button in Cricut Design Space, and watch the magic happen! Your Cricut will precisely cut the design you’ve uploaded.
Weeding and Assembling
Use weeding tools to remove unwanted pieces from your design. Assemble layers if necessary, and apply your design to the final surface.
Troubleshooting Common Issues
File Compatibility Problems
If your SVG file isn’t uploading, double-check the format. Some files may need to be extracted from ZIP folders before uploading.
Cutting Errors
Uneven cuts? Ensure your mat is clean and your blade is sharp. Also, verify the material settings in Design Space.
Layer Alignment Issues
If layers don’t align properly, group or attach them before cutting to keep their positions intact.
Cricut Project Ideas for Beginners
-
Custom T-Shirts: Use iron-on vinyl to create personalized designs.
-
Greeting Cards: Make intricate designs with cardstock and pens.
-
Home Decor Signs: Craft wooden signs with adhesive vinyl.
-
Personalized Mugs: Add designs to mugs using permanent vinyl.
-
Holiday Ornaments: Create festive decorations with layered SVG files.

Conclusion
Using SVG files in Cricut projects unlocks endless creative possibilities. By mastering the basics of Cricut Design Space and understanding how to work with SVG files, you’re ready to bring your crafting ideas to life. Start with simple projects, explore new designs, and let your creativity shine.
Visit Silhouette File Ltd for stunning SVG files to kickstart your next Cricut adventure!

